Plastiform roughness control procedure with contact

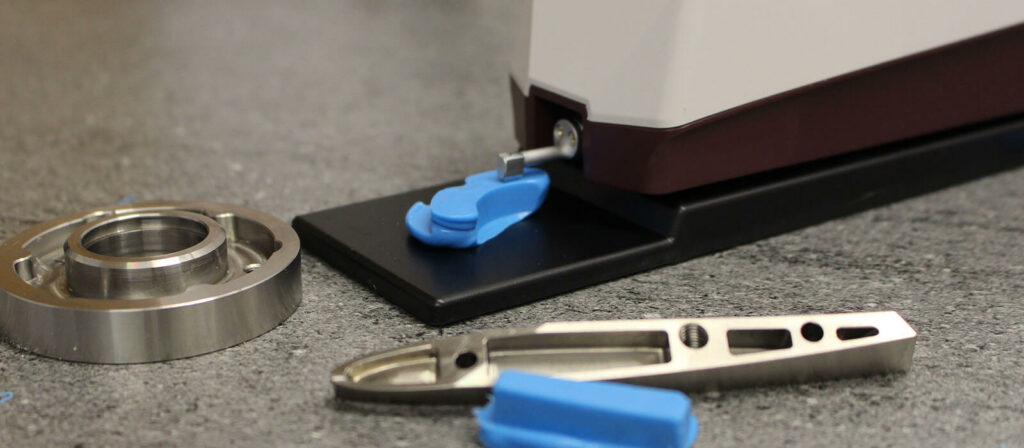
The Plastiform P80 Ra, as its name suggests, is a molding product that can copy the Ra roughness of a surface and reproduce it identically. This capability allows it to be used in cases where the surface to be inspected is not accessible to the measuring instrument.
Roughness evaluations with Plastiform
Definition
Roughness corresponds to the irregularities present on a surface, due to differences in level.
The Arithmetic Average Roughness, Ra, is the arithmetic average of the absolute values of the profile deviations within the reference section. In other words, it is the average distance between the peaks and troughs of the profile, over a given measurement distance.
This is the Ra value that can be obtained on the P80 Ra with a contact roughness tester. The other characteristics (Rt, Rz…) can only be obtained with non-contact surface measurement systems.
Resolution of the impression
Resolution is the smallest absolute value that can be distinguished or identified by a measurement system on the impression.
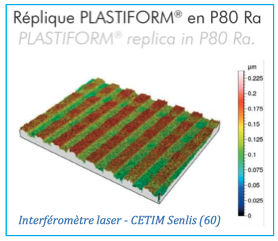
Tests on optical systems with sub-nanometer resolution (laser interferometer and scan) have shown a 1 nanometer resolution on the impression. This demonstrates that Plastiforms, and in this case the P80 Ra, are capable of copying nanometer-level details on surfaces where they are applied.

Testing the CETIM laser interferometer on the P80 Ra
It is generally recommended to use an optical measuring system to measure Plastiform impressions, however, contact measurement is still very accurate if the correct procedure is followed.
Measurement systems and results
There are two main types of contact roughness testers: skidded roughness testers and skidless roughness testers. Although both can be used for measurements on P80 Ra impressions, the best results are generally obtained with the skidless roughness testers. These instruments allow tolerances of +/- 0.1µm.
For optimum accuracy, optical (non-contact) measuring systems are the most suitable. They can measure Ra of less than 0.020µm with very high accuracy.
Methodology for a contact measurement
This procedure has been developed using multiple customer applications. It is the best method to obtain optimal results with a contact measuring device.
1. Clean the surface well
Before taking the impression, it is essential to clean the part thoroughly with DN1 degreaser in order not to distort the roughness test. The surface must be perfectly clean, without any grease or oil residue. The presence of dust will also affect the quality of the impression.
2. Follow the instructions for taking the impression
Measuring the roughness of a part requires careful application of the Plastiform to the test surface. Refer to the instructions for a good application.
P80 is a pasty product that will not flow, so you can apply it to any surface.
Be careful not to create air bubbles!
We recommend pressing the impression against the surface with a flat object, in order to create a flat surface on top, but also to ensure good infiltration of the product into the micro-details of the surface.
This way, you will get a cured impression that is easy to position under the probe.
3. Wait 30 minutes after the product has cured
Once the Plastiform has cured, allow approximately 30 minutes before starting the roughness measurement. This will allow the product to reach its final hardness of 80 Shore A.
This hardness is essential for an accurate measurement.
4. The measuring system must be calibrated
Before taking the measurement on the P80 Ra impression, it is imperative to calibrate your measuring system properly.

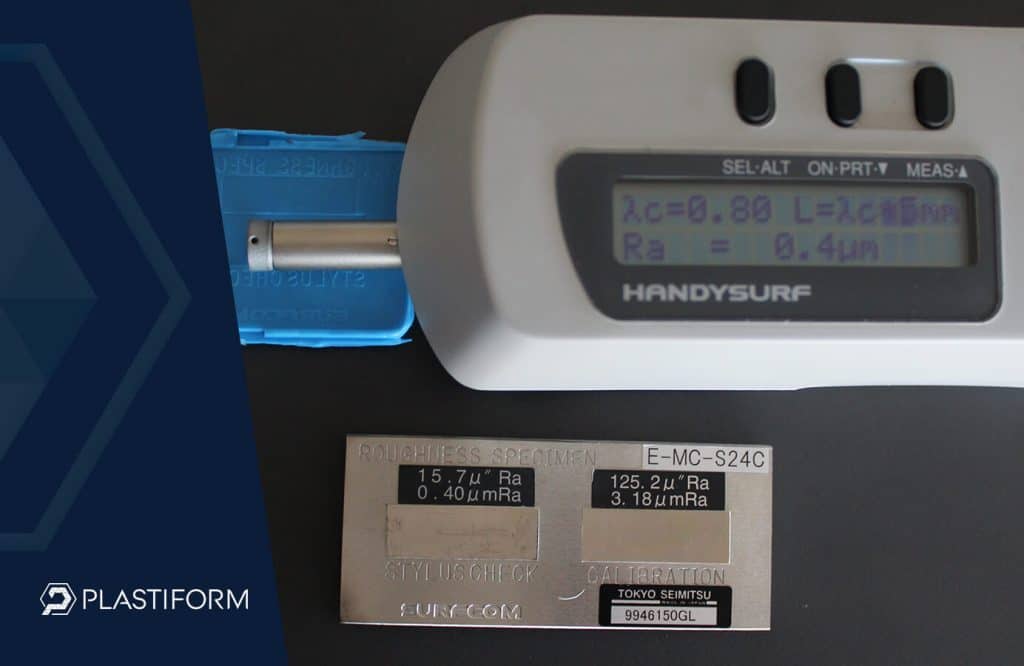
Verification of the calibration of the measuring instrument with an impression of the standard.
We even recommend testing the roughness meter on a P80Ra replica of the roughness standard, in order to check conformity. To do this, take the impression of the roughness standard and compare the results obtained on the impression and on the standard.
5. Position the impression correctly
Place the impression so that the grooves are perpendicular to the direction of measurement and ensure that it is stable and as flat as possible.
For this reason, we recommend creating a “flat” on the back of the impression when making it (see point 2 above). The impression must also be held securely so that it does not move due to the friction of the probe.
Do not hold the impression with your fingers, as this causes harmful micromovements.
6. Take the measurement
According to the norm, the profile should be measured on 5 different sections, in order to have an average.
Since the stylus can slightly damage the surface of the impression, the measurement should not be taken twice in the same place.
Factors influencing the measurement results
When measuring the roughness of a surface, several factors can have an impact on the measurement result. And there are even more factors when it comes to cavity measurements. Here is a non-exhaustive list.
1. Environment
Temperature variations can affect the result of a roughness measurement. The humidity of the air can also affect the result of a measurement.
2. Human factor and measurement strategy
The experience of the measurement technicians also has an impact on the measurement result. The choice of measurement method, or the appropriate probe, are important elements in obtaining optimal results.
3. Measuring device
The choice of the most suitable measuring device determines whether the inspection will be easy or complex.
Some instruments are perfectly compatible with Plastiform impressions, others will have more difficulties. Therefore, a preliminary test is always recommended to check the compatibility of the equipment.
4. Object of measurement
The original surface as well as the surface of the impression must be perfectly clean and the Plastiform impression must have reached its maximum final hardness (approx. 30 to 40 minutes after application).
Care should also be taken to preserve the control surface of the impression as much as possible. As it is not made of metal, it should not be scratched, rubbed or bent too much. It should be handled and positioned with care.
5. Limit value of Ra
When the surface roughness Ra is less than 0.4µm, the contact test becomes unsuitable.
Because of the low roughness, a deviation appears, leading to errors in the interpretation of the roughness tester.
It is therefore necessary to switch to an optical (non-contact) measuring instrument when the target roughness is less than or equal to 0.4µm.


