The Roughometer – Measuring Surface Condition
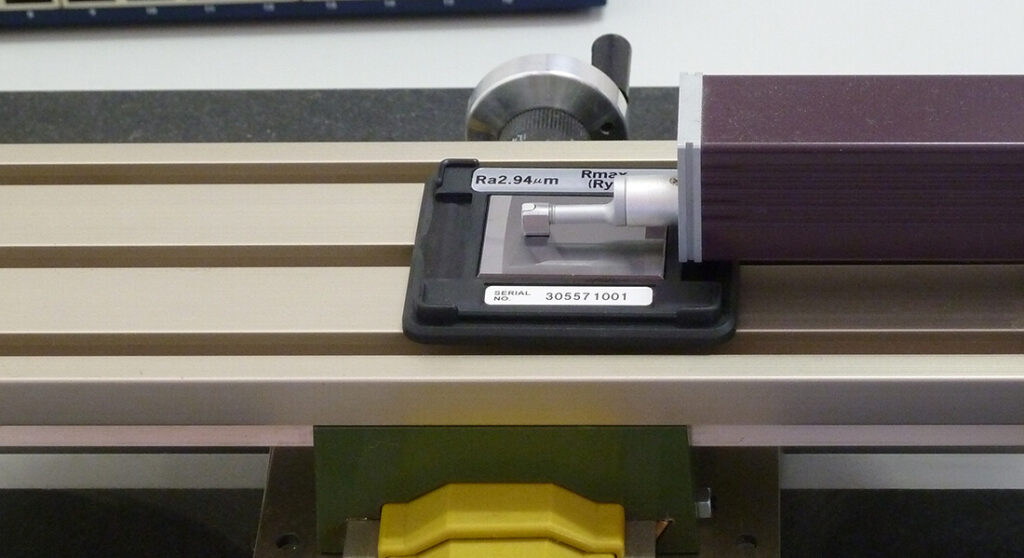
During machining, regardless of the precision of the machine used, it is to be expected that the surfaces will have irregularities. These irregularities are micro-geometric asperities due to imperfect machine tools (yes! Perfection does not exist!).
The measure of these imperfections is essential. For more than 80 years, measuring surface finish has been used to improve product performance. By qualifying an average to these defects it is possible to qualify the state of a surface in order to make it conform, or not.
The roughometer is one of the measuring instruments capable of qualifying the surface condition of a part.
Today, the surface condition has multiple parameters, in accordance with international standards) : The P parameters, which are calculated on the primary profile, the R parameters, which are measured with the roughness profile, and the W parameters, which correspond to the measurement of the waviness profile.
In this article, we will take a short tour of the different roughometers, capable of measuring some of these parameters, and give you some clues to techniques and instruments to go further.
Surface Condition Parameters
In order to describe the condition of a surface, it is generally necessary to measure several profiles, two of which are of interest in this article: the roughness profile and the waviness profile. Each of them provides information on the defects of a surface.
Roughness
It concerns micro-geometric defects and is measured with a roughometer or profilometer. The parameters which are related to roughness have the prefix R: Ra, Rz, Rw, etc.
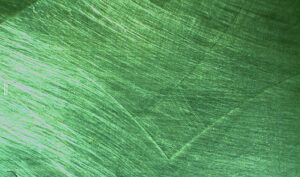
Roughness is used to measure defects such as Striations or Grooves dug by machining tools.
Waviness
It is complementary to roughness and includes all the components of the surface finish with a long wavelength. The waviness has parameters starting with the letter W.
Roughometers on the market
The roughometer is a contact measuring instrument. Its sensor scans the surface to be measured in order to extract different measurements concerning the roughness and waviness parameters (in some cases).
Roughometers are handy instruments with a low investment, which makes them one of the most accessible devices for inspecting the surfaces of your products. However, there are different types of roughness tester.
Skidded Roughometer
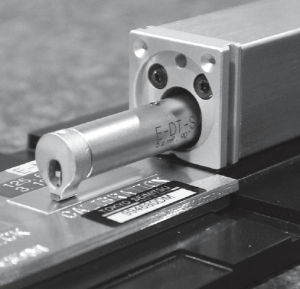
Skidded sensor of a skidded roughometer
It’s the entry level. The sensor of this device is guided by a skid, so it can only measure a flat surface.
With a skid, the sensor can only measure roughness parameters. The skid is used to guide the sensor, but its presence may affect the accuracy of measurement on certain types of surfaces. However, the skid makes the unit robust and easy to transport.
A skidded roughometer is therefore a suitable instrument for use in the workshop, where you need to position the instrument quickly and easily.
Skidless Roughometer
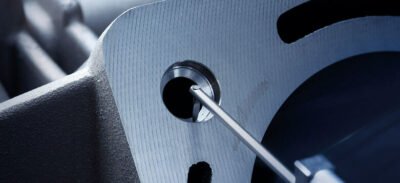
Skidless Roughometer (from Accretech)
Conversely, skidless roughometers use an internal device guide to control the sensor. This internal guide is capable of handling more complex surfaces.
Roughometers without skids are often a preferable choice since the internal guide allows the sensor to obtain much better results.
It is also an excellent choice for measurements on Plastiform impressions 😉
Alternatives to roughometers
Roughometers are contact measuring devices. If you wish to measure roughness with a non-contact measuring instrument or if you simply cannot position the roughometer, there are alternatives on the market.
Profilometers
Profilometers are originally contact measuring instruments that analyze the surface to be measured with a fine diamond tip. Make no mistake, contact profilometers still exist and are very practical and cheap, however, they have some disadvantages :
- They are slow, the scanning speed of the tip over the surface is about 1mm/second.
- They can scratch the surface, so it can only be used on hard (metallic) surfaces.
- It is not possible to measure surfaces that are too brittle or too abrasive as this may damage the tip or the surface.
Portable profilometers are what we call roughometers (what a big news 😉), so the operation is relatively similar.
However, optical profilometers do exist, and this is what interests us since they are alternatives to contact roughness measurement. There are two types of optical profilometers, the matrix or scanning optical profilometer.
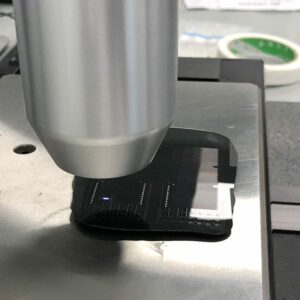
Profilometer taking surface roughness measurements on an impression of F30 Visual Plastiform.
At first, the optical matrix profilometer, works by reading images taken with a CCD camera. The advantage of this model is undoubtedly its speed. It is the fastest on the market, in addition to offering very precise measurements.
In the case of the optical scanning profilometer, it is a little more complicated, since the use of a mechanical scanning device causes a slight noise that is superimposed on the surface relief. Of course, this type of profilometer remains excellent, you can also find a noise with a roughometer for example due to the mechanical friction between the tip and the surface.
Indirect control
In some cases, your roughness meters will not be able to reach the surface to be measured, just as you will not be able to move the surface to a profilometer. Faced with this impasse, there are very few measuring instruments that can help you.
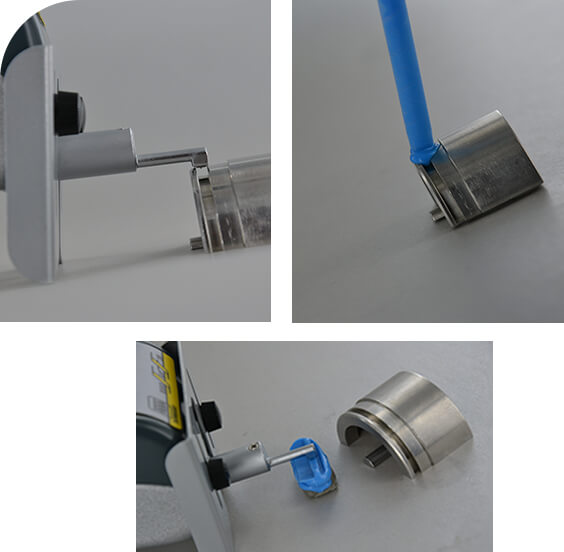
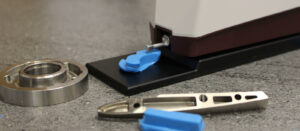
Impossible to measure area with a roughometer, solved with Plastiform.
The solution with the best price-performance ratio is impression taking: Using a resin, copy the surface and transport it to the roughness meter so that it can take the measurements.
Plastiform offers solutions dedicated to the industry with controls accurate to a thousandth of a micron for an average of 4$ per control! (Impressive isn’t it? 😉)
Our products are compatible with both roughometers and optical profilometers. (And more generally all measuring instruments used in quality control, whether for surface finish or dimensional control).
The P80Ra is a product specifically developed for use with roughometers. If you are facing a dead end with this type of device, I strongly recommend that you take an interest in this product, it will solve your problem! It is all the more accurate when used with a roughometer without skid!
The F30 Visual is more suitable for non-contact measuring instruments, it is much too flexible to be used on a roughometer. Even if it is not the subject of this article, it is still interesting to know the range of solutions available to us: the F30 Visual is for non-contact!
How do you use a roughness tester?
To answer quickly: It all depends on the manufacturer! Each machine has its own specificities, but the principle is quite similar:
- The first step is always to calibrate the rugosimeter with its standard (it is normally delivered with the machine). Your measurements will be wrong if your machine is not calibrated!
- When your machine is ready to measure, place it on the surface to be examined and start measuring. Normally you should see the probe move. Let it work until it comes to a complete stop.
- Take a look at the unit’s display, it will show you the data.
Some machines allow you to export data in order to store it digitally, check the user manual of your device to learn more about this!
And with Plastiform, how do you measure?
The use of the roughometer with Plastiform is exactly the same as on the original surface, the only additional step is the impression!
We already have a lot of resources that will allow you to learn more about how to apply a plastiform or how to extract an impression. I invite you to consult them if you are not comfortable with our technologies!
In the context of dimensional control, there is a small specificity that comes into play when taking the impression.
Since we are going to perform the check with a roughometer, we will need to position the impression. To do so, we will flatten the side of the impression opposite the surface to be checked.
Simply crush the paste with a flat surface when you put the applicator gun down (before polymerization, otherwise it will be mission impossible!). You have about 6 minutes with the P80 Ra to perform this operation!
When the product has polymerized, you can easily place it on the flattened side, then measure it with your roughness meter (with or without skid!).
Conclusion
The roughometer is a device for checking the surface condition of a part to verify its conformity.
With a skidded roughometer,you will be able to find the roughness profile of the surface. With a skidless roughometer, you can also find the waviness profile of the surface.
The roughometer is an efficient and reliable measuring instrument, in addition to being affordable and easy to use. On top of that, it works very well with Plastiform!
If you want to carry out systematic checks of your parts, the portable roughness meter with the P80ra (for hard-to-reach areas) are a winning combo!


